Android Variant
Obtaining Firebase Cloud Messaging Credentials
Before the Android application is able to receive notifications, you must set up access to Firebase Cloud Messaging. You also need an emulator with Google Services or an Android device. This section shows you how to obtain the Server key and the Sender ID from Firebase Cloud Messaging for configuring Unified Push.
Start by opening the Firebase Console.
If you haven't created a project in the firebase console, please do so.
In your project side bar, click on the gear icon in the navigation column by "Project Overview" to open a menu. Select "Project settings" from that menu.

- On the Project Settings screen, switch to the Cloud Messaging tab, where you can find the Server key and Sender ID. Make a note of these values, we will use them to configure the variant in the next section.

Configure the Variant
With all the Google work being done, we are now ready to setup the UnifiedPush Server, so that it can be used to connect to FCM for later message sending.
In the wizard after you create a PushApplication, click the Add Variant button and fill out the Android options. You will want to use the Server Key and Sender ID obtained from the Firebase Console in their appropriate fields:

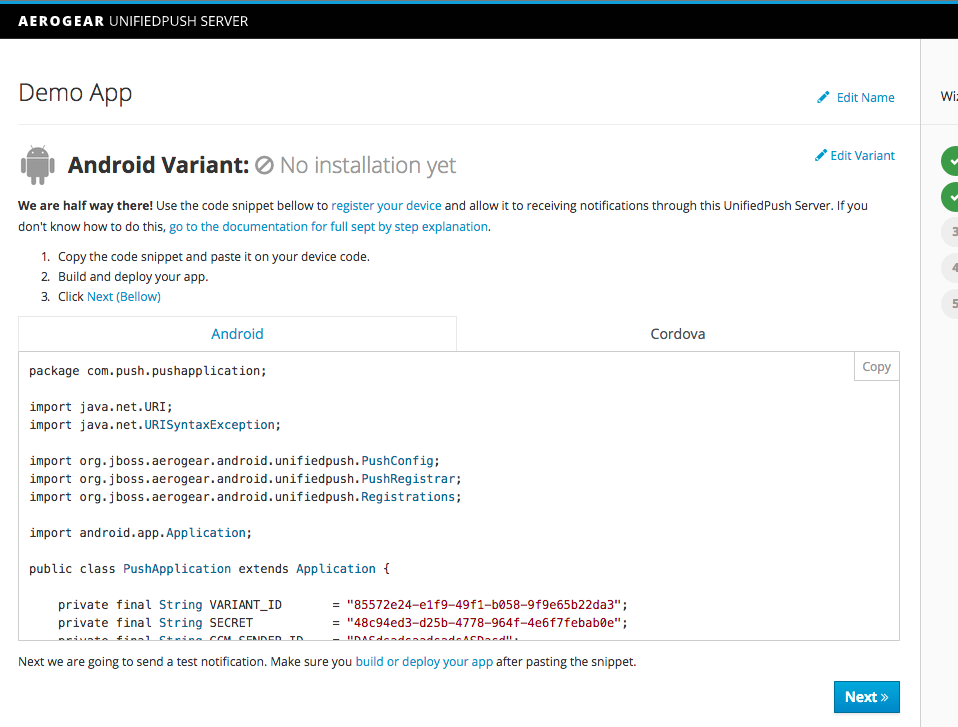
Afterwards you will see some code snippets, containing the Variant ID and Secret, that you can use in your Android application for the registration of the device, running your app:
Unified Push is now configured, configuring the Android client is covered in the client guide.